
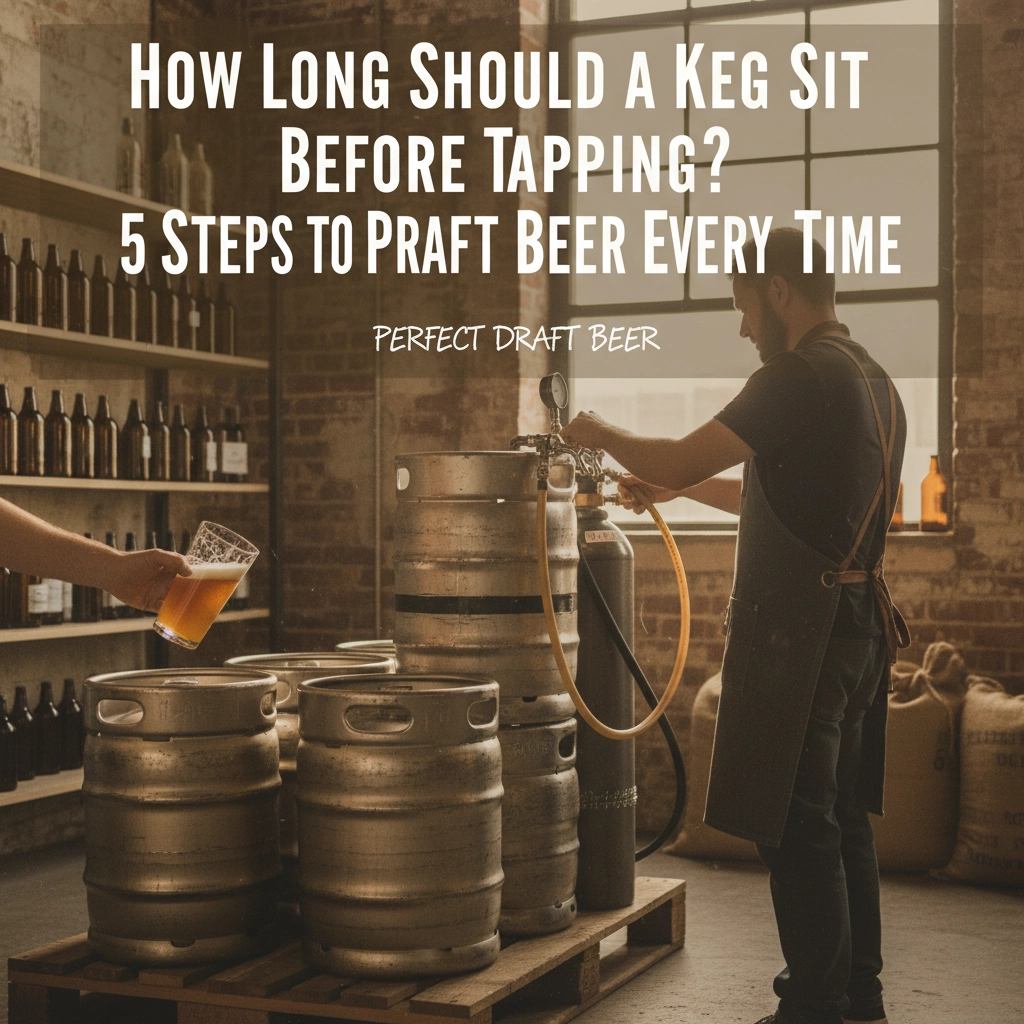
How Long Should a Keg Sit Before Tapping? 5 Steps to Perfect Draft Beer Every Time
Picture this: you've got friends coming over, the game's about to start, and you're ready to crack open that fresh keg. But wait: should you tap it right away, or does it need some time to chill out first? If you've ever ended up with a glass full of foam instead of that perfect golden pour, you know the struggle is real.
Here's the deal: your keg needs to sit for 4-5 hours before you even think about tapping it. But there's way more to getting that perfect draft beer than just waiting around. Let's dive into the five foolproof steps that'll have you pouring like a pro every single time.
Why Timing Matters More Than You Think
Before we jump into our step-by-step guide, let's talk about why that settling time is absolutely crucial. When a keg gets moved around: whether it's bouncing around in your trunk or rolling off the delivery truck: all that beer inside gets shaken up. Think of it like a giant beer snow globe that needs time to settle.
The science is pretty straightforward: agitated beer creates excess foam, and warm beer makes everything worse. That 4-5 hour window isn't just a suggestion: it's your ticket to avoiding the dreaded foam fountain that wastes precious beer and leaves everyone disappointed.
Step 1: The Great Cool Down (4-5 Hours Minimum)

This is where patience pays off big time. Your keg needs to reach that sweet spot temperature of 38-40°F before it's ready for action. If you're working with an ice bath setup, completely surround that keg with ice and give it a solid 4-5 hours. Got a kegerator? Even better: let it chill for up to 10 hours for absolute perfection.
Here's a pro tip: if you're planning a party, get that keg cooling the night before. Morning football game? Set it up after dinner the night before. Your future self (and your thirsty friends) will thank you.
Temperature Check List:
- Ice bath method: 4-5 hours minimum
- Refrigerated storage: 6-10 hours for best results
- Room temperature to perfect pour: Never rush this process
- Target temperature: 38-40°F (that's fridge-cold, not just "cool")
Step 2: Equipment Prep – Clean is King
While your keg is doing its cooling thing, it's time to get your gear ready. This isn't just about making things look pretty: dirty equipment can completely ruin even the best beer.
First up: clean everything that's going to touch your beer. That means your tap system, all the beer lines, your glasses, and even the area where you'll be pouring. Use hot soapy water for most items, but avoid harsh chemicals that might leave residue.
Essential Equipment Checklist:
- Hand pump or tap system (cleaned and ready)
- Cold, clean glasses (seriously, rinse them with cold water right before serving)
- Towels for cleanup (trust us, you'll need them)
- Backup ice if you're using an ice bath setup
Fun fact: the temperature of your glass matters almost as much as the beer itself. A warm glass will cause the beer to foam up faster than you can say "UNEEDABOTTLE.CA." Keep those glasses in the freezer for 10 minutes before your first pour, or give them a quick rinse with cold water.
Step 3: The Tapping Technique That Never Fails

Now for the moment of truth: actually tapping your keg. This is where a lot of people mess up, but it's honestly pretty straightforward once you know what you're doing.
For party pump systems (the most common type for home use), align the pump with the keg's opening and push down firmly while turning clockwise. You should feel it lock into place: don't force it, but make sure it's secure. A loose connection equals foam city, and nobody wants that.
If you're using a more professional tap system, follow the manufacturer's instructions exactly. Each system has its quirks, but the basic principle remains the same: secure connection equals better pour.
Tapping Do's and Don'ts:
- DO: Check that everything's properly connected before your first pump
- DON'T: Over-tighten: you want secure, not Superman-strength tight
- DO: Have a glass ready for your test pour
- DON'T: Pump aggressively right away: start gentle
Step 4: Master the First Pour (And Every Pour After)
Your first pour is like a practice run: it tells you everything you need to know about how your setup is working. Start with just a few gentle pumps of your hand pump, then try a small pour.
Getting mostly foam? Your beer might still need more cooling time, or you might be pumping too aggressively. Getting a perfect pour with just the right amount of head? You've nailed it!
Here's where the magic happens: angle your glass at 45 degrees and pour steadily down the side until the glass is about half full, then straighten the glass and continue pouring. This technique works whether you're pouring from a keg or a bottle, and it's the secret to that perfect beer-to-foam ratio every time.
Perfect Pour Technique:
- Start with glass at 45-degree angle
- Pour steadily down the side
- Straighten glass when half full
- Continue pouring to create perfect head
- Aim for about 1 inch of foam on top

Step 5: Maintain the Magic Throughout Your Event
Congratulations: you've achieved the perfect pour! But the job isn't done yet. Keeping that quality consistent throughout your party requires a little ongoing attention.
Keep it cold: This can't be stressed enough. If you're using an ice bath, refresh that ice regularly. The warmer your keg gets, the foamier your pours become.
Pump smart, not hard: With hand pump systems, resist the urge to over-pump. Each pump increases pressure, and too much pressure equals too much foam. Start with fewer pumps and work your way up as needed.
Monitor your pours: Pay attention to how each pour looks. If you're suddenly getting more foam than beer, it's time to check your setup. Maybe the keg warmed up, or perhaps you've been a little pump-happy.
Clean as you go: Wipe up spills immediately and keep your pouring area clean. This isn't just about appearances: spilled beer can get sticky and affect your equipment's performance.
The UNEEDABOTTLE.CA Difference
Speaking of perfect pours, have you checked out the amazing keg selection at UNEEDABOTTLE.CA? Whether you're hosting a backyard BBQ or planning a bigger celebration, they've got you covered with quality kegs that are perfect for the Vancouver scene.
From classic favorites like Molson Canadian to craft options like Vancouver Island Brewing's Island Pilsner, there's something for every taste and every crowd size.
Troubleshooting Common Keg Problems
Even with perfect technique, sometimes things go sideways. Here are the most common issues and how to fix them:
Too much foam: Usually means the beer is too warm or you're pumping too aggressively. Let it cool more and ease up on the pump.
No pressure: Check all connections and make sure your pump is working properly. Sometimes you just need a few more pumps.
Weird taste: This often points to dirty equipment. When in doubt, clean everything again.
Slow pour: Usually a pressure issue: you might need a few more pumps, or check for leaks in your system.
Bonus Tips for Keg Success
Want to take your keg game to the next level? Here are some insider secrets:
The night-before trick: Set up everything except the actual tapping the night before your event. This way, you're not scrambling when guests arrive.
Ice bath efficiency: Layer ice, then keg, then more ice. The more contact between ice and keg, the faster it cools.
Glass game: Serve beer in glasses that have been rinsed with cold water: it helps prevent excessive foaming and keeps the beer colder longer.
Pressure patience: If your first few pours are foamy, wait 5-10 minutes between attempts. Sometimes the system just needs a moment to settle.
The Bottom Line
Getting the perfect draft beer every time isn't rocket science, but it does require a little patience and the right technique. Remember: 4-5 hours of cooling time isn't optional: it's essential. Clean equipment isn't just nice to have: it's mandatory. And proper pouring technique isn't showing off: it's the difference between impressive pours and embarrassing foam fountains.
Master these five steps, and you'll be the hero of every gathering. Your friends will wonder how you always manage to pour perfect beers while theirs turn out foamy. The secret? You followed the process, took your time, and didn't try to rush perfection.
Whether you're grabbing a Heineken keg for a sophisticated gathering or keeping it classic with Old Style Pilsner, these steps work every single time. Now get out there and show off those perfect pours!


