
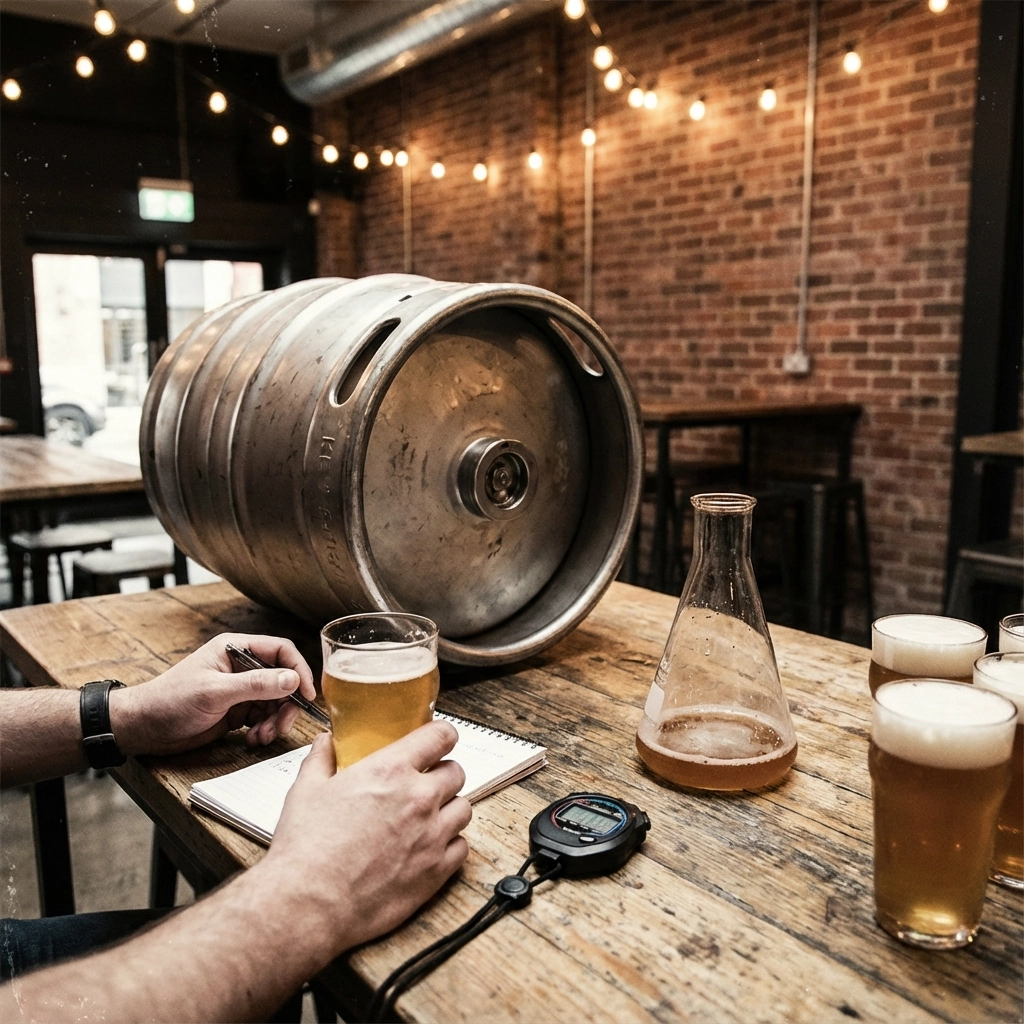
The Ultimate Guide to Settling Your Keg: Timing, Tricks, and the Science Behind the Foam
So you've finally made the leap from bottles to kegs, congratulations! But now you're staring at that shiny metal cylinder wondering why your first pour looks like a cappuccino explosion. Don't worry, we've all been there. Understanding how to properly settle your keg is part science, part patience, and part knowing the right tricks.
Let's dive into the foam-fighting fundamentals that'll have you pouring perfect pints in no time.
Why Does My Beer Look Like a Bubble Bath?
Before we fix the foam, let's understand what causes it. Foam isn't your enemy, it's actually a sign that your beer is properly carbonated! The real culprit is dissolved CO₂ trying to escape. When beer warms up or pressure drops suddenly, that CO₂ rushes out of solution faster than you can say "cheers."
Temperature plays the starring role here. Warm beer releases CO₂ much faster than cold beer, which is why that room-temperature keg you just tapped is giving you nothing but head. Think of it like opening a warm soda versus a cold one, same principle, different beverage.

But there's more to the story. Oxygen exposure during the kegging process can create instability in your foam formation. This is why proper purging techniques matter so much, you're not just removing air, you're setting yourself up for foam success.
The surface area factor is often overlooked too. When your keg sits upright, only a small area of beer contacts the CO₂ headspace. This limited contact means slower, more controlled carbonation, exactly what you want for stable foam behavior.
The Waiting Game: Chilling Your Keg Like a Pro
Here's where patience pays off big time. Chill your keg for 4-5 hours minimum before even thinking about tapping it. We're talking proper cold here, not just "feels cool to the touch."
The ice bucket method works wonders: place your keg in a large bucket, add ice to the bottom, then pack ice around the sides and over the top. This creates even cooling rather than just surface chilling. Your future self will thank you when that first pour flows smooth and creamy instead of erupting like a beer volcano.
This chilling period does double duty, it gets your beer to proper serving temperature while allowing dissolved CO₂ to stabilize throughout the liquid. Cold beer holds more CO₂ in solution, preventing that violent degassing you'd get with warm beer.
Carbonation Chemistry: Getting the Timing Right
Once your beer hits the keg, proper carbonation takes about 2 weeks at fermentation temperature. Yes, two full weeks. This isn't just arbitrary waiting: it's allowing CO₂ to fully dissolve throughout every drop of beer rather than concentrating near the surface.
Your PSI settings depend on beer style and desired carbonation level, but most beers happy cruise between 10-15 PSI. When you first connect your CO₂ regulator, listen for gas flow: it'll slow down and stop as pressure equalizes. This happens quickly because of that limited surface area we talked about earlier.
Want to speed things up? Some brewers use the shake method: set your regulator to target PSI and shake the keg vigorously for 3-4 days. The agitation increases surface area contact, accelerating CO₂ dissolution. Just be prepared for some serious arm workout!

Tapping Technique: Your First Pour Strategy
Here's what nobody tells you: expect foam from your first four or five cups. This isn't failure: it's physics! Your keg has built up sufficient pressure and carbonation to push beer through immediately, even without pumping.
Don't dump that foam: it's still beer! Pour it into a separate pitcher and let it settle for a few minutes. You'll be surprised how much actual beer emerges from what looked like pure foam.
For hand-pump systems, here's your step-by-step:
- Remove the protective metal cap
- Align coupler lugs with keg openings
- Press down until the coupler sits inside the neck
- Turn about 90 degrees until it locks
- Pull out the handle, then push down to engage
Critical timing tip: Don't pump immediately! There's already enough carbonation for initial pours. Only start pumping when beer flow begins slowing down. Open your faucet first, then pump 4-5 times while pouring. Never pump with a closed faucet: that's a guaranteed foam explosion.
Fine-Tuning Your Pour: Pressure Calibration
Every keg setup is unique, so you'll need to dial in your perfect dispensing pressure. Start conservatively at 2-3 PSI and pour some beer. Too slow but minimal foam? Gradually increase pressure in small 2-3 PSI increments.
This calibration accounts for your specific line length, keg design, and equipment setup. What works perfectly for your buddy's setup might create foam city in yours. Take notes on your sweet spot: you'll use these settings again.

Crystal Clear Results: Advanced Clarification
Want restaurant-quality clarity? Clarification agents are your secret weapon. Gelatin clarification is straightforward: dissolve 1 teaspoon in warm water, add to your cold finished beer, shake to disperse, then let sit undisturbed for 24 hours.
The first couple pints will carry sediment, but everything after should be crystal clear. Biofine offers another option: mix 0.025 oz with 5 oz cold water, stir for 30 minutes keeping it under 60°F, refrigerate 2-4 hours, stir again for 15 minutes, then add to 5 gallons of beer.
Both methods work by binding to suspended particles, causing them to settle out naturally.
Temperature Control: The Foundation of Foam Prevention
Consistent temperature control prevents most foam issues before they start. Invest in a good thermometer and monitor your keg temperature regularly. Sudden temperature swings cause CO₂ solubility changes, leading to unpredictable foam behavior.
If you're serving outdoors or in varying temperatures, consider a keg jacket or insulated keg tub. These maintain stable temperatures even when ambient conditions change.
Troubleshooting Common Issues
Over-carbonated beer: Reduce pressure and vent small amounts of CO₂ until reaching desired carbonation level. This process takes patience: don't rush it.
Under-carbonated beer: Increase pressure slightly and give it more time. Remember, proper carbonation can't be rushed.
Persistent foam despite proper temperature: Check your lines for cleanliness and proper length. Short lines or dirty equipment often cause ongoing foam issues.
The Perfect Pour: Putting It All Together
Achieving foam-free perfection combines multiple strategies: thorough chilling, appropriate carbonation pressure, proper air purging, adequate carbonation time, accepting initial foam, smart pumping technique, and pressure calibration.
The key is patience during carbonation and attention to temperature and pressure variables. Master these fundamentals, and you'll eliminate nearly all foam frustration from your kegging adventures.
Ready to put these techniques into practice? Your perfectly settled keg awaits: and trust us, that first clean pour makes all the waiting worthwhile.
Craft Beer Food Pairings: Elevating Your Next Dinner Party

Ever wondered why some food and beer combinations make your taste buds sing while others fall flat? The art of beer and food pairing isn't just for fancy restaurants: you can master these flavor combinations right at home and transform any meal into a memorable experience.
Let's explore how different beer styles interact with food, giving you the confidence to create amazing pairings that'll impress your dinner guests and elevate your own dining experiences.
Understanding Flavor Fundamentals
Beer pairing works on the same principles as wine pairing, but with even more versatility. Beer offers an incredible range of flavors, textures, and intensities that can complement, contrast, or cleanse your palate between bites.
The key elements to consider are intensity matching, flavor bridging, and palate cleansing. A delicate pilsner would get overwhelmed by a heavy steak, while a robust stout might overpower subtle fish dishes. Think about balancing weights: light with light, heavy with heavy, or using contrast intentionally for dramatic effect.
Complementary pairings work by matching similar flavors: chocolate desserts with chocolate stouts, for example. Contrasting pairings use opposite flavors to highlight each other: think crisp, hoppy IPA cutting through rich, fatty foods.
Lagers and Light Beers: The Versatile Foundation
Light lagers and pilsners are your Swiss Army knives of food pairing. Their clean, crisp profiles make them incredibly food-friendly without competing for attention.
Perfect matches include:
- Fresh seafood and sushi
- Light salads and vegetarian dishes
- Spicy cuisines like Thai or Mexican
- Grilled chicken and pork
- Fresh cheeses and light appetizers
The carbonation in lagers provides excellent palate cleansing between bites, while their subtle malt sweetness balances spicy heat. Try a German pilsner with fish tacos or a Japanese rice lager with sashimi: the clean finish enhances rather than masks delicate flavors.

IPAs: Cutting Through Rich and Fatty Foods
India Pale Ales bring bold hop character and higher alcohol content that can stand up to intense flavors. Their bitterness acts as a palate cleanser, making them ideal for cutting through rich, fatty, or heavily spiced foods.
Stellar IPA pairings:
- Aged cheeses and charcuterie
- Spicy Indian or Mexican dishes
- Rich burgers and BBQ
- Coconut-based curries
- Sharp, tangy dishes
The hop oils in IPAs actually help cleanse your palate of fats and oils, which is why they work so well with pizza, fried foods, and creamy dishes. The citrusy hop character also complements herbs and spices beautifully.
Wheat Beers: Light and Refreshing Companions
Wheat beers offer smooth, creamy textures with subtle flavors that pair wonderfully with lighter fare. Their soft mouthfeel and often citrusy notes make them perfect summer pairing companions.
Wheat beer harmony:
- Fresh fruit and fruit tarts
- Light seafood dishes
- Salads with citrus dressings
- Soft cheeses and cream-based dishes
- Asian stir-fries and noodle dishes
Hefeweizens with their banana and clove notes work beautifully with breakfast dishes, while American wheat beers complement fresh, seasonal ingredients perfectly.
Dark Beers: Rich, Complex, and Comforting
Stouts, porters, and dark ales bring roasted, chocolate, and coffee flavors that pair naturally with heartier, more robust dishes. Their full bodies and complex flavor profiles can handle intense foods without getting lost.
Dark beer destinations:
- Chocolate desserts and coffee-flavored treats
- Grilled and smoked meats
- Rich stews and braised dishes
- Aged cheeses and nuts
- Barbecue and blackened foods
The roasted malt character in dark beers creates natural bridges with grilled, caramelized, or chocolate flavors. Try a coffee porter with tiramisu or an imperial stout with dark chocolate: the flavor synergy is incredible.

Seasonal Pairing Strategies
Spring pairings focus on fresh, light ingredients that awaken the palate after winter. Wheat beers with asparagus dishes, light lagers with fresh peas and herbs, or session IPAs with spring lamb work beautifully.
Summer calls for refreshing combinations: pilsners with grilled vegetables, wheat beers with fruit salads, or pale ales with BBQ chicken. The key is keeping things light and thirst-quenching.
Fall flavors embrace warmth and spice. Oktoberfest lagers pair perfectly with bratwurst and sauerkraut, while brown ales complement roasted root vegetables and warming spices.
Winter pairings go bold and comforting. Imperial stouts with rich desserts, Belgian dubbels with hearty stews, or barleywines with aged cheeses provide warming comfort during cold months.
Advanced Pairing Techniques
Temperature contrast creates interesting dynamics: try serving cold beer with warm soup or room-temperature cheese. The temperature difference enhances both experiences.
Texture play works beautifully too. Creamy beers with crunchy foods, or highly carbonated beers with rich, dense dishes create pleasing contrasts that keep your palate engaged.
Regional pairings often work naturally: German beers with German food, Belgian beers with Belgian chocolates, or American craft beers with American BBQ. These combinations developed together for good reasons.
Hosting Your Beer Pairing Dinner
Start with 3-4 different beer styles and plan your menu around them. Provide tasting notes for each beer and explain your pairing choices: your guests will appreciate the education and engage more deeply with both the food and beer.
Progression matters: start light and work toward darker, more intense flavors. This prevents stronger beers from overwhelming your palate early in the meal.
Small portions allow everyone to try multiple combinations without getting too full or too intoxicated. Think tapas-style servings rather than full restaurant portions.
Remember, the best pairings are the ones you enjoy most. These guidelines provide a foundation, but your personal preferences and creativity ultimately determine success. Experiment, take notes, and most importantly, have fun exploring the incredible world of beer and food pairing possibilities.
Winter Beer Storage: Protecting Your Liquid Gold from the Cold

Winter presents unique challenges for beer storage that many enthusiasts overlook. Whether you're storing cases of your favorite craft brews or protecting that special vintage barrel-aged stout, understanding how cold weather affects beer is crucial for maintaining quality and flavor.
Let's explore the science behind winter beer storage and discover practical strategies to keep your collection in perfect condition through the coldest months.
The Cold Truth About Beer Storage Temperature
Beer storage isn't as simple as "keep it cold." Different beer styles have optimal storage temperatures, and winter weather can create problematic temperature fluctuations that damage beer quality over time.
Most beers perform best stored between 45-55°F, but winter brings extreme cold that can actually harm your beer. When beer freezes, ice crystals form and expand, potentially breaking bottles or cans. Even if containers don't break, freezing alters the beer's texture and flavor profile permanently.
Temperature fluctuations cause even more damage than consistently cold storage. When beer repeatedly warms and cools, dissolved CO₂ comes out of solution and redissolves, creating off-flavors and affecting carbonation levels. Your beer might taste flat or develop unpleasant metallic notes.
The alcohol content affects freezing points too. Most beers freeze around 28°F, but higher alcohol beers like barleywines or imperial stouts can withstand slightly lower temperatures before ice crystals form.
Garage and Basement Storage Challenges
Many beer lovers store their collections in garages or basements, thinking these spaces provide ideal cool temperatures. Winter changes everything about these storage environments.
Unheated garages become outdoor temperatures, subjecting your beer to freezing conditions and daily temperature swings. Even heated garages experience significant temperature fluctuations as heating systems cycle on and off.
Basements offer more stable temperatures but still present challenges. Concrete floors and walls conduct cold, creating micro-climates that can drop below optimal storage temperatures. Poor insulation allows outside temperatures to influence basement conditions more than you'd expect.

Humidity matters too: winter air holds less moisture, creating dry conditions that can affect cork-finished bottles or damage labels. Proper humidity levels between 50-70% help preserve both beer quality and bottle integrity.
Insulation Strategies That Actually Work
Creating stable storage conditions requires thoughtful insulation approaches that go beyond basic weather-stripping.
Thermal mass provides excellent temperature stability. Add water containers, sand-filled buckets, or concrete blocks to your storage area. These materials absorb and release heat slowly, moderating temperature swings naturally.
Insulating wraps work well for smaller collections. Use moving blankets, bubble wrap, or specialized wine storage bags to create micro-climates around cases or individual bottles. These solutions cost little but provide significant protection.
Space heaters seem logical but create dangerous temperature fluctuations and fire hazards. Instead, consider oil-filled radiators set on low settings: they provide gentler, more consistent heat without rapid temperature changes.
For serious collectors, dedicated beer refrigerators or wine coolers offer precise temperature control. Look for units with minimal temperature variation (±2°F) and good insulation ratings.
Specific Storage Solutions for Different Spaces
Closet storage works surprisingly well in heated homes. Interior closets maintain stable temperatures and protect beer from light exposure. Use floor-level storage where temperatures stay most consistent.
Crawl space storage requires careful consideration. These areas often experience extreme temperature swings and poor air circulation. If using crawl spaces, insulate heavily and monitor temperatures regularly.
Shed storage needs serious winterization. Add insulation, weatherproofing, and potentially heating systems. Without proper preparation, sheds become outdoor storage with minimal protection.
Indoor storage provides the most control but requires strategic placement. Avoid areas near heating vents, exterior walls, or windows where temperature fluctuations occur.
Monitoring and Managing Your Storage Environment
Digital thermometers with min/max memory functions let you track temperature ranges over time. Place multiple units throughout your storage area to identify temperature variations and cold spots.
Smartphone-connected monitors provide real-time alerts when temperatures move outside your target range. These systems let you respond quickly to heating system failures or unexpected weather events.
Regular rotation prevents some bottles from experiencing worse conditions than others. Move bottles from exterior walls toward interior areas, and rotate stock so nothing sits in problematic spots too long.
Emergency Weather Protection
Extreme cold snaps require immediate action. Move valuable bottles to heated indoor spaces temporarily. It's better to disturb your storage briefly than lose beer to freezing damage.
Power outage preparations should include backup heating plans. Battery-powered space heaters, thermal blankets, or even moving beer into heated vehicles can prevent freezing during extended power losses.
Insulation upgrades before severe weather hits prevent emergency situations. Weatherproof your storage areas during moderate weather rather than scrambling during storms.
Signs of Temperature Damage
Learn to recognize temperature damage symptoms before consuming affected beer. Hazy appearance in normally clear beers often indicates protein coagulation from temperature stress.
Flat or overcarbonated beer suggests CO₂ level changes from temperature fluctuations. Off-flavors like metallic, sour, or stale notes often develop from repeated freeze-thaw cycles.
Bottle or can damage obviously indicates freezing has occurred. Even minor expansion can compromise seals, leading to oxidation and contamination.
Long-Term Storage Considerations
Vintage beer collections require extra attention during winter months. Rare or aged beers become irreplaceable if damaged, making proper storage investments worthwhile.
Bulk purchases made during winter sales need immediate proper storage. Don't let great deals turn into expensive mistakes due to poor storage planning.
Spring preparation includes gradually adjusting storage temperatures as weather warms. Sudden temperature increases can shock beer just like sudden decreases.
Winter beer storage success comes down to consistency, monitoring, and preparation. Invest in proper temperature control, insulation, and monitoring equipment appropriate for your collection size and storage space. Your future self will appreciate the effort when you're enjoying perfectly preserved beer throughout the cold months and beyond.
Remember, good storage practices protect not just individual bottles, but your entire investment in quality craft beer. Take the time to winterize your storage properly: your taste buds and wallet will thank you.


