
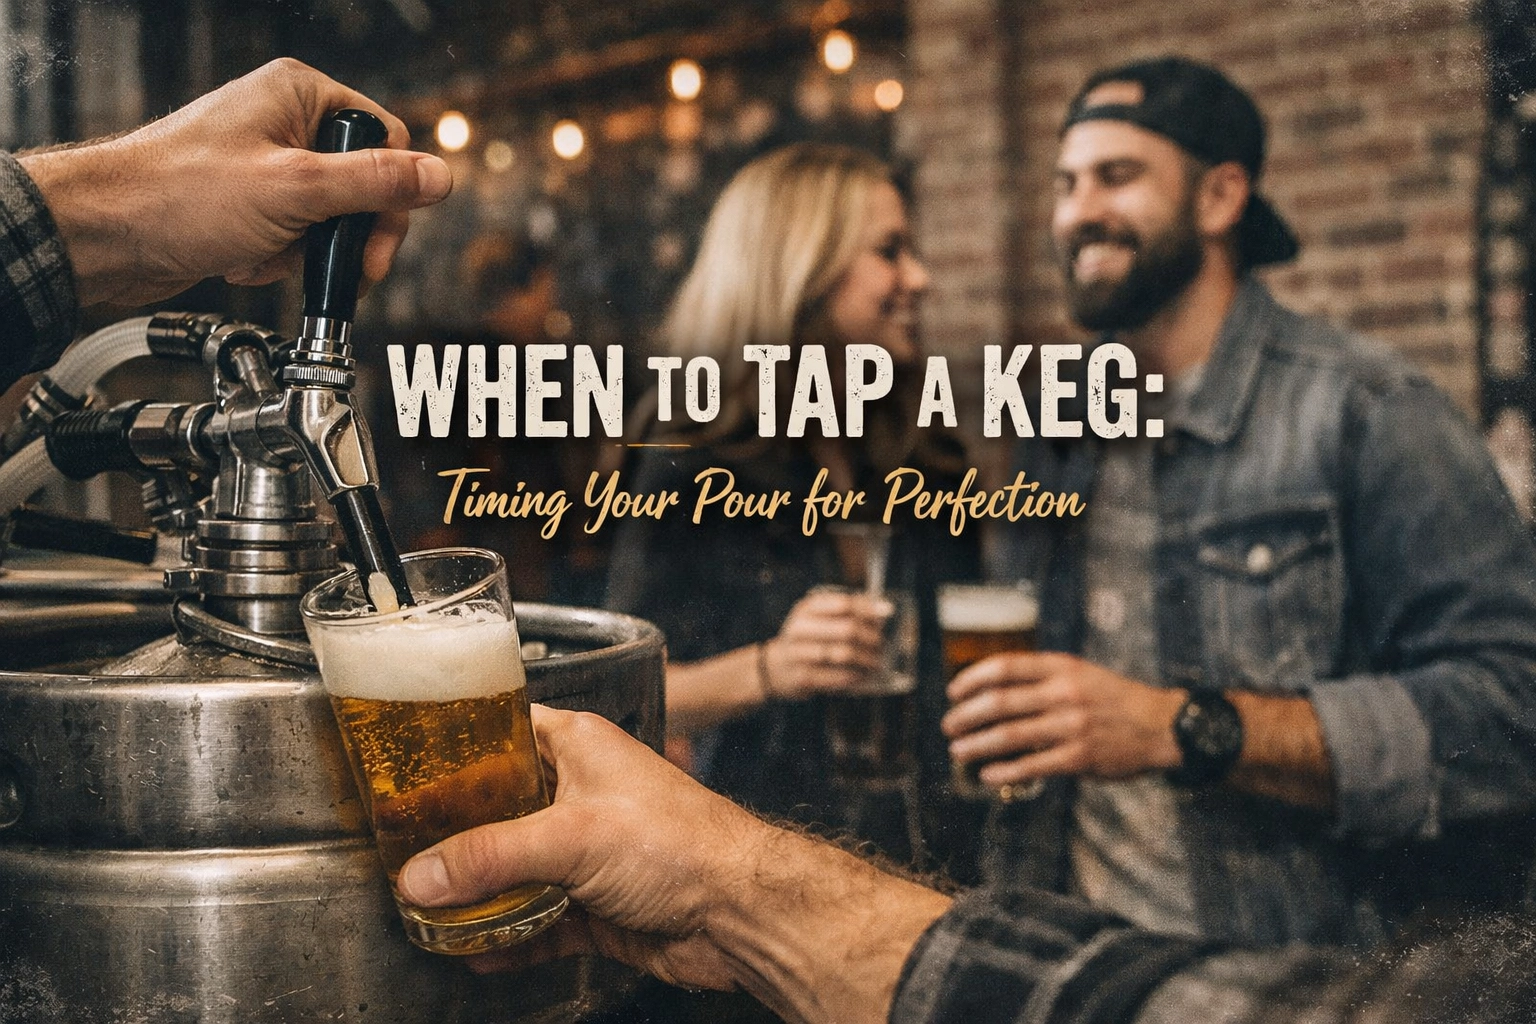
When to Tap a Keg: Timing Your Pour for Perfection
So you've got a keg for the big game, backyard BBQ, or just because it's Saturday (no judgment here). But here's the million-dollar question: when to tap a keg? Rush it, and you'll be serving foam in a cup. Wait too long, and your guests will be eyeing the warm beer in the garage with increasing desperation.
Let's cut through the confusion and get you pouring perfect pints every single time. Because nothing kills a party vibe faster than a keg that's misbehaving.
The Golden Rule: Chill Before You Thrill
Here's the deal, your keg needs to chill for 4-5 hours before you even think about tapping it. This isn't some arbitrary number someone pulled out of thin air. This window ensures your beer reaches that sweet spot of 32-38°F, the temperature range where beer stays happily in liquid form instead of transforming into a foam monster.
Think of it like letting a steak come to room temperature before cooking, except in reverse. Your beer needs to acclimate to its serving temperature to perform at its best. Room temperature beer isn't just unpleasant to drink, it's physically impossible to serve properly without creating a foamy mess.

Work Backwards From Party Time
Let's get practical. Your party starts at 6 PM, and you want that first pour to be Instagram-worthy. That means your keg should be chilling by 1 PM at the absolute latest. Better yet, aim for noon to give yourself a buffer.
This buffer time is your best friend when things go sideways (and they often do). Maybe the tap doesn't fit quite right. Maybe you need to make a quick run for ice. Maybe your brother-in-law shows up early and starts offering "helpful" advice. Whatever happens, you've got time to handle it without panic-sweating while guests watch.
The Settling Period: Patience is a Virtue
If your keg just arrived from a delivery truck or you hauled it home from the liquor store yourself, add another 2-4 hours of settling time on top of that chilling period. All that jostling during transport creates agitation in the beer, which translates directly to foam when you tap it.
Think of it like shaking a soda can, you wouldn't crack it open immediately, right? Same principle applies here, just on a much larger scale. This settling period lets all that turbulence calm down, allowing the CO2 to properly reabsorb into the liquid rather than exploding out as foam.
So if you're picking up your keg the morning of your party, you're already behind schedule. Plan ahead and grab it the day before if possible. Your future self will thank you.
The Tapping Process: Let's Get Technical (But Fun)
Alright, your keg is perfectly chilled and settled. Now comes the moment of truth. Here's your step-by-step guide to tapping without tears:
Step 1: Clean Everything
Before you touch that tap, make sure both the keg opening and your coupler are clean. Nobody wants mysterious gunk floating in their beer. A quick wipe-down takes five seconds and prevents gross surprises.
Step 2: Position the Coupler
Line up your keg coupler (that's the tap mechanism) with the keg's opening. You'll notice it has specific grooves that match up: this isn't a "jam it and hope" situation.
Step 3: Press and Turn
Push down firmly on the coupler and turn it clockwise about 90 degrees. You'll feel it lock into place. If it's fighting you, stop and check your alignment rather than forcing it. Brute force and beer kegs don't mix well.
Step 4: Engage the Tap
Pull out or lift the handle (depending on your tap style) to engage the gas flow. For CO2 systems, set your pressure regulator to 10-15 PSI for most beers.

The Art of Pumping (Hand Pump Systems)
Here's where most people mess up royally. If you're using a hand pump system (common for parties and events), pump technique matters more than you think.
The Cardinal Rules of Pumping:
- Only pump when the beer flow actually slows down
- Only pump while someone is actively pouring
- Start with 4-5 gentle pumps to establish flow
- Add pumps gradually only when the stream weakens
Over-pumping is the number one cause of foamy beer nightmares. You're essentially forcing too much pressure into the system, which makes the beer shoot out fast and angry, creating a glass full of foam instead of beer. And here's the kicker: once you've over-pumped, you can't undo it. You just have to wait it out.
Always open your faucet fully rather than trying to control flow by opening it halfway. A fully open faucet with proper pressure gives you that perfect cascade into the glass. A partially open faucet creates turbulence, which creates: you guessed it: foam.

Temperature Maintenance Throughout Your Event
Tapping at the right time is only half the battle. You need to maintain that ideal temperature throughout your event, especially if you're partying outdoors or it's warm inside.
Keep your keg in a tub or bucket filled with ice. Not ice water: actual ice surrounding the keg. Refresh the ice every couple of hours as it melts. For longer events, consider a keg jacket or insulated sleeve that helps maintain temperature between ice additions.
If you're using a kegerator or draft system, you've got it easier: just make sure your unit is set to the proper temperature range and working efficiently.
Common Timing Mistakes (And How to Avoid Them)
Mistake #1: The Last-Minute Tap
You know who you are. The party starts in 30 minutes, and you're just now pulling the keg out of your car. Stop doing this. Plan ahead, people!
Mistake #2: Tapping a Warm Keg
"But I'll put ice around it after tapping!" Nope. The damage is done. Warm beer + pressure = foam city, population: your entire party.
Mistake #3: Over-Pumping on the First Pour
Everyone's excited for that first beer, so you pump like you're trying to inflate a flat tire. Ease into it. Those first few pours set the tone for your entire event.
Mistake #4: Ignoring the Settling Period
Your keg just bounced around in your truck for 20 minutes. Let it rest. Seriously. Go set up the snack table or something.
Your Quick Reference Timeline
For maximum clarity, here's your complete timeline:
Day Before (Optional but Recommended):
- Pick up keg from UNEEDABOTTLE.CA
- Place in refrigerator or ice
Event Day – 5+ Hours Before:
- If keg at room temperature, start chilling
- Allow 2-4 hours settling time if recently transported
1 Hour Before:
- Verify keg is properly chilled (32-38°F)
- Set up tap system
- Have backup ice ready
30 Minutes Before:
- Perform test tap
- Adjust pumping technique if needed
Show Time:
- Pour perfect beers like the hero you are
When Things Go Wrong
Sometimes, despite perfect timing, things still go sideways. If your beer is pouring mostly foam even after proper chilling and settling, check these factors:
- Lines might be warm (run cold water over beer lines)
- Tap might be dirty (clean and try again)
- Pressure might be wrong (adjust your CO2 or pumping technique)
- Keg might actually be bad (rare, but it happens)
The good news? Most issues are fixable with patience and troubleshooting. The key is starting with proper timing so you're not fighting multiple problems at once.
The Bottom Line on Timing
Knowing when to tap a keg isn't rocket science, but it does require planning. That 4-5 hour chilling window isn't negotiable if you want quality results. The settling period after transport isn't optional if you want to avoid foam. And patience with your pumping technique isn't just nice to have: it's essential.
Think of it this way: you wouldn't throw a frozen steak on the grill or try to slice bread fresh from the oven. Every good thing has its process, and keg beer is no exception. Respect the timing, follow the steps, and you'll be pouring perfect pints that make you look like a draft beer genius.
Ready to put these timing tips into action? Check out our full selection of kegs at UNEEDABOTTLE.CA and grab everything you need for your next event. And if you want to level up your tapping skills even more, our keg tapping guides have you covered with visual walkthroughs and pro tips.
Now get out there and pour some perfect pints. Your guests are counting on you!


